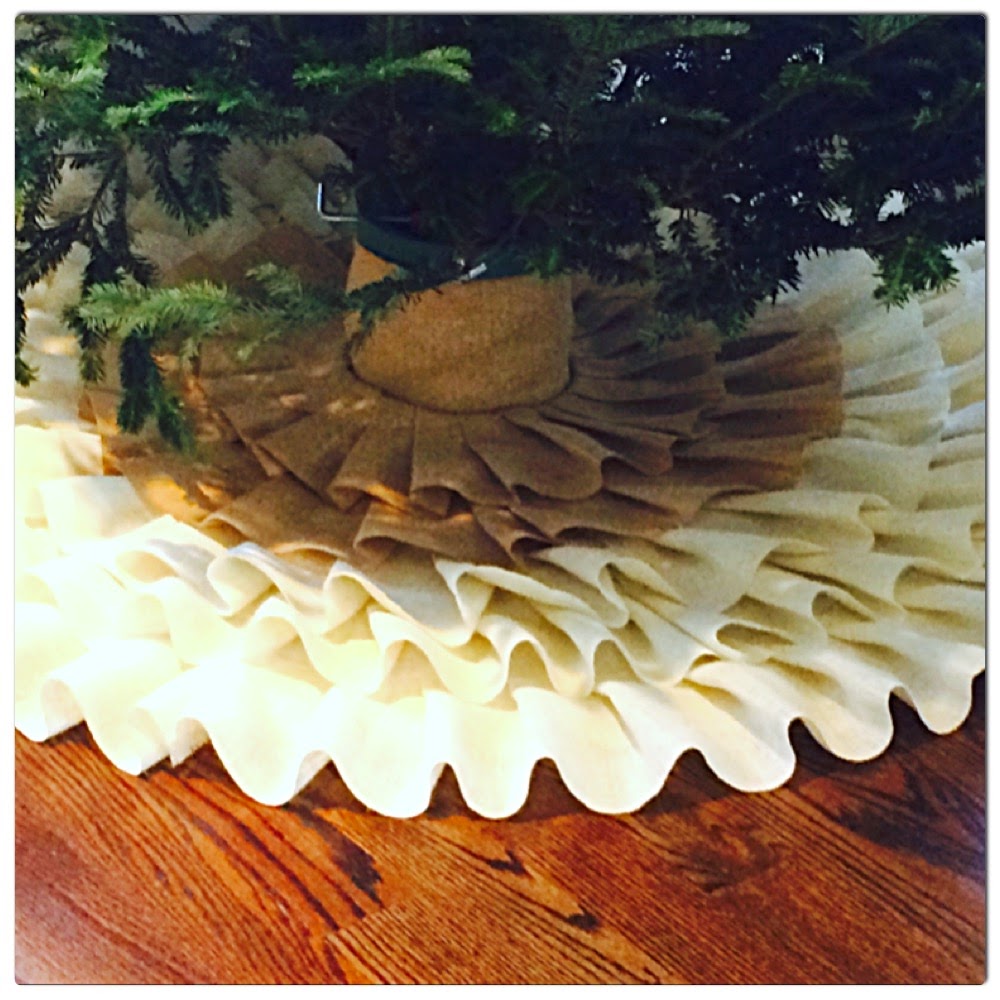
Here is the finished Product:

What you will need:
A large Workspace (Our round kitchen table worked perfectly!)
White or Off-white felt (at least 50inches x 50 inches) - mine was purchased at Fabricland (having lots of Christmas sales!)
White Burlap (I used 2 yards)
Natural Burlap (1 used 0.5 yards)
Scissors
Measuring tape (best if flexible)
Pen/marker
Sewing Seam Ripper (Is that what they are called?)
Sewing pins (at least 30)
Glue gun
Glue gun Sticks (LOTS! I went through about 40 mini ones)
Twine or Ribbon
How to Make:
1. Fold your felt. You want to fold it in half, then in half again (should look like a square-isn thing).
Locate the two edges with the fold - these will be the sides that you will keep intact.
2. Decide how big you want your tree skirt to be. Typically, they average around 45 - 60 inches in diameter. My felt piece was 50 inches in diameter, then the burlap hung off the edge another 3-4 inches (making the total almost 60inches).
Divide your total diameter in 2. Pin your tape measure in the corner of your felt piece (the corner that hosts both folded areas). Use the pic as a pivot - measure out the arc of a circle (see picture below). My arc was 25 inches long. Mark the measurement with a pen/marker lightly.
You also want to measure out a circle in the middle of your felt for the tree holder to go. Measure your holder, and plan accordingly. Mine was 4 inches, and I allowed 0.5 inches for extra room.
3. Cut your two arcs. I pinned my layers of felt together before cutting to make sure the layers all stayed together.
Cut down one of the fold of your fabric to the centre of the circle. This will be the opening to put it on the tree. (See pictures)

4. Get ready to have burlap fluff everywhere.
5. Cut your pieces of burlap. My pieces were 7 inches wide (considerable wider than some of the other skirts seen on Pinterest) - this will give a wider stripe.
If you are like me, and get frustrated by the fraying of burlap, here is the trick to eliminating fray:
Measure out your desired width. Use a seam picker (ripper?) to cut through one "thread" of burlap - the one that corresponds to your desired width. Use the seam ripper to remove the entire thread from the entire length of the burlap.
Once finished, cut the burlap in the new space you have just created. This will help keep it from fraying!

6. Pin out your ruffles onto your fabric. Start with the outside and work your way in. Measure out how many layers you want, and you can mark them off if you wish.
7. Once a layer is pinned, use the glue gun to paste the layers to the felt. Watch those fingers! It will be very hot!
8. Go around the whole circle, until finished. Go onto the next layer (pinning then gluing). Feel free to alternate colours or fabrics! Make your own design!
9. When you get to the middle, ensure that you pin and glue your fabric pieces with overhang into the middle of the felt circle. Once your front is complete, flip your skirt over and pin the overhanging bits to the underskirt for a clean finish.

10. Complete the look with some twine or ribbon to tie the two openings together. I used glue to secure mine in place, but you can either cut slits into the sides and tie the twine in, or you can even buy eyelets at the fabric store. I knew mine wouldn't get too much use, so gluing them in place was enough for me.
11. Sit back and admire your work! Wow! Send pictures to everyone, post on Intagram. Place under your tree and enjoy.
Time for a glass of wine. Hope yours turned out well!
More pictures to come once we have decorated the tree!
Cara xox
No comments:
Post a Comment